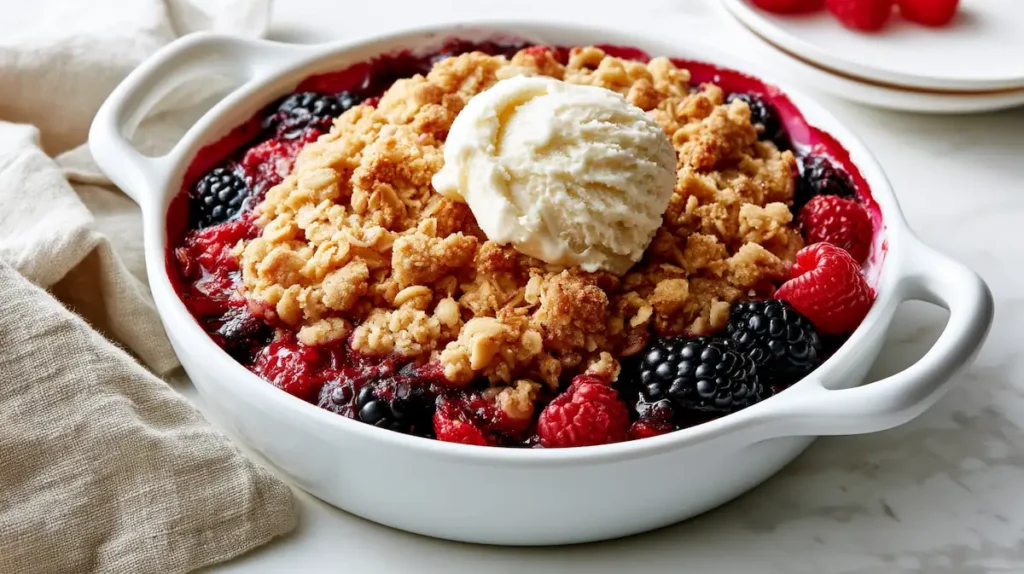
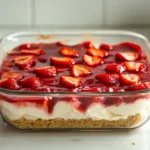
This old-fashioned berry crisp is the dessert I choose when the fruit is good but not perfect enough to serve on its own. Fresh and frozen berries both work, and the oat topping does not require a mixer or careful shaping.
The amount of thickener depends on the berries. Frozen fruit and very ripe strawberries release more juice, so they may need a little more than firm fresh berries.
Free weekly recipes
Never wonder "what's for dinner" again
Recipe Information
Recipe Detail
Time
Prep Time
15 minutes
Cook Time
40 minutes
Active Time
15 minutes
Total Time
55 minutes
Servings
8 servings
Why This Old Fashioned Berry Crisp Recipe Recipe Works
It transforms everyday berries into a warm, comforting dessert with very little effort.
The buttery oat topping bakes into a crisp, golden layer that contrasts beautifully with the juicy fruit.
It’s easy to customize with your favorite berries and tastes just as delicious with fresh or frozen fruit.
If you love warm fruit desserts with a buttery oat topping, you’ll also enjoy this fresh peach crisp, another simple homemade dessert that’s perfect for summer gatherings.
Recipe Summary
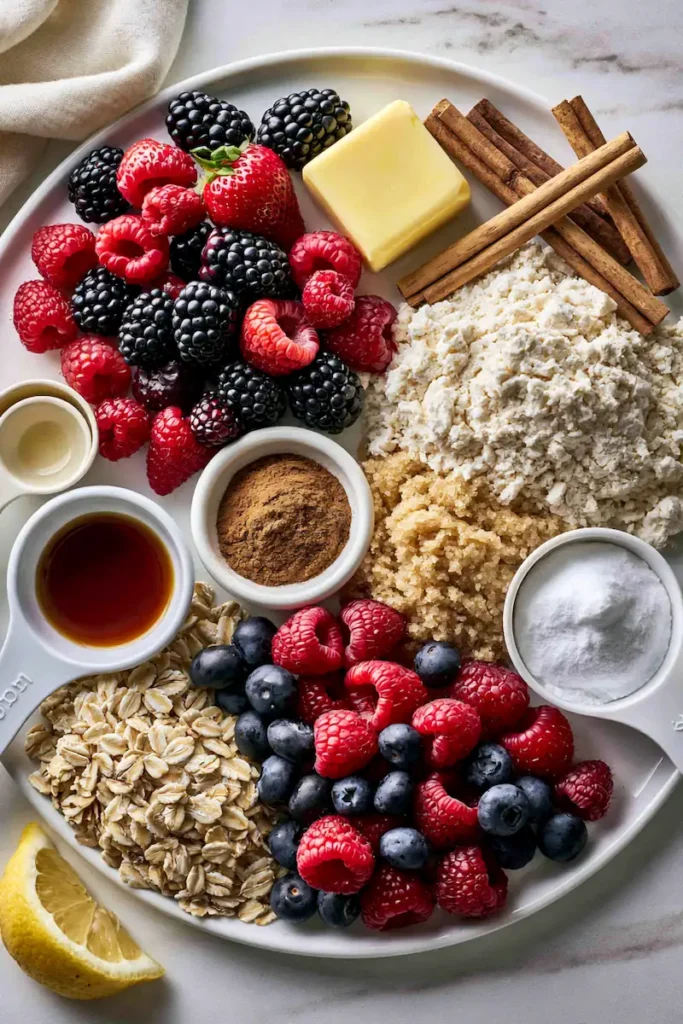
This classic berry crisp combines a mixture of blueberries, raspberries, blackberries, and strawberries with a hint of lemon and vanilla. Everything is topped with a crumbly oat topping made from butter, brown sugar, flour, cinnamon, and old-fashioned oats before baking until bubbly and golden brown.
Quick Answer
To make an old fashioned berry crisp recipe, toss mixed berries with sugar, cornstarch, lemon juice, and vanilla. Spread them in a baking dish, cover with a buttery mixture of oats, flour, brown sugar, cinnamon, and butter, then bake at 350°F until the filling is bubbling and the topping is crisp and golden.
Frozen berries work well—no need to thaw them first.
If using especially sweet berries, reduce the sugar slightly.
For the Crisp Topping
1 cup old-fashioned rolled oats
¾ cup all-purpose flour
¾ cup light brown sugar
½ teaspoon ground cinnamon
¼ teaspoon salt
½ cup unsalted butter, melted
Optional for serving:
Vanilla ice cream
Fresh whipped cream
Choose a Berry Mix for Sweetness and Texture
The recipe calls for six cups of mixed berries, which gives you room to adapt to what is ripe and available. Blueberries tend to hold their shape, while raspberries and blackberries soften and create a juicier filling. Strawberries bring a larger, sweeter bite when cut into pieces. You can use a balanced mixture or favor one berry, but keep the total amount of prepared fruit close to the recipe’s measure.
Sort fresh berries before mixing. Remove stems and any damaged or spoiled pieces, then rinse gently and let the fruit drain. Extra rinse water enters the baking dish just like berry juice, so give the fruit time to shed visible droplets. Cut large strawberries into pieces that will cook alongside the smaller berries. Handle raspberries lightly so they do not become crushed before baking.
Frozen fruit can be measured straight from the freezer as the recipe advises. Do not thaw it first and then add both berries and the liquid they release. Some frozen mixtures contain very large strawberries; check the package and choose fruit sized to mix with the other berries where possible. If the frozen fruit forms a solid block, separate the pieces before coating them rather than leaving an icy mound in the middle of the dish.
If you have more fruit than this dessert requires, explore the late-summer produce recipes for another use. Making a second dish is more reliable than adding extra cups of berries to this crisp without changing the dish size and topping balance.
Step-by-Step Instructions
Step 1
Preheat your oven to 350°F (175°C). Lightly butter a 9-inch baking dish.
Step 2
In a large bowl, gently combine the mixed berries with sugar, cornstarch, lemon juice, vanilla, and a pinch of salt until evenly coated.
Step 3
Transfer the berry mixture into the prepared baking dish and spread it into an even layer.
Step 4
In another bowl, mix together the oats, flour, brown sugar, cinnamon, and salt.
Step 5
Pour in the melted butter and stir until the mixture forms moist, crumbly clusters.
Step 6
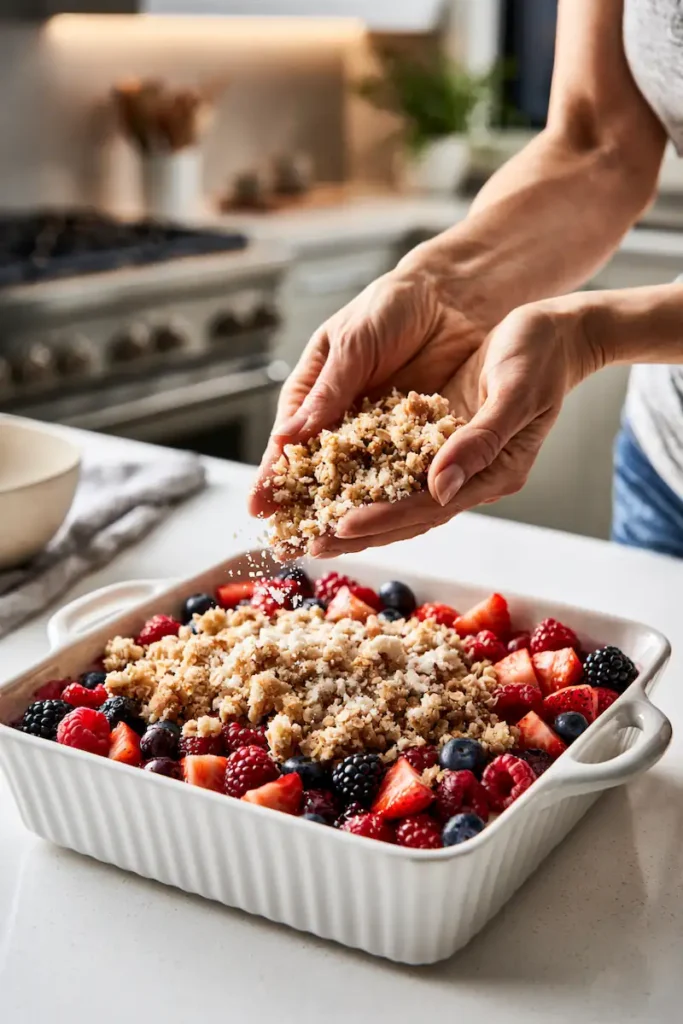
Sprinkle the topping evenly over the berries without pressing it down.
Step 7
Bake for 35–40 minutes, until the fruit is bubbling around the edges and the topping is deep golden brown.
Step 8
Allow the crisp to rest for about 10–15 minutes before serving so the filling thickens slightly.
Serve warm with vanilla ice cream or whipped cream if desired.
Coat the Berries Evenly and Watch the Filling Bubble
Combine the sugar, cornstarch, lemon juice, vanilla and salt with the berries until the dry ingredients are distributed. If you see a pile of cornstarch at the bottom of the bowl, fold the fruit again gently. Uneven coating can leave one section loose and another with a starchy patch. Transfer everything to the buttered dish, including the seasoned juices, then spread the fruit to a fairly even depth.
The thickener needs hot fruit juices to do its work. A deep baking dish may show bubbles at the rim while the center is still heating, so check the middle as well as the edge toward the end of the baking time. You are looking for fruit that is visibly bubbling beneath the topping, not only a golden surface. If the center has not reached that point, give the crisp more time and recheck, taking care around the hot dish.
Let the crisp rest before serving. The fruit will remain warm, but a brief pause helps the juices settle so each spoonful carries some filling instead of leaving a puddle behind. The finished dessert is still spoonable; it is not meant to set as firmly as a fruit pie. Choose a serving spoon that can reach beneath the fruit and topping together.
For a different fruit and topping combination, fresh peach crisp is already linked above. Use that recipe’s fruit preparation and quantities when peaches are your main ingredient rather than replacing the berries in this version cup for cup without checking the method.
Nutrition (Per Serving)
Nutrient
Amount
Calories
305
Protein
3 g
Carbohydrates
48 g
Fat
12 g
Fiber
5 g
Sugar
27 g
Sodium
115 mg
These values are approximate and will vary depending on the berries and specific ingredients you use. Pairing the crisp with fresh fruit or plain yogurt can create a balanced dessert or breakfast treat
Make Oat Clusters Without Compacting the Topping
The topping is mixed separately from the fruit so you can control its texture. Stir the old-fashioned oats, flour, brown sugar, cinnamon and salt together first. This distributes the smaller ingredients before the melted butter makes the mixture sticky. Pour the butter over the dry ingredients and stir until you have moist clusters with some variation in size. There is no need to beat the mixture into a uniform paste.
Scatter the clusters across the berries in more than one pass. Cover the entire dish lightly, then place the remaining topping over sparse areas. Some berry color may remain visible between the crumbs; those openings also let you see the filling bubble. Avoid pressing down to make a solid lid. A compact layer is more likely to steam against the fruit instead of developing the contrast between crisp crumbs and soft berries.
Use the specified oats when you want the texture described by the recipe. Quick oats are cut more finely and absorb moisture differently. If you add the optional nuts from the tips, chop them so they mix with the oat pieces and distribute across the pan. Keep them as a modest addition rather than doubling the topping volume.
When baking two desserts for a gathering, compare their oven settings and pan sizes in advance. The caramel peach cobbler muffins bake at a different temperature and need their own finishing step. Bake sequentially if your oven cannot give each recipe the setting it requires, and plan the crisp’s resting period into the schedule.
Practical Tips for Old Fashioned Berry Crisp Recipe
Mix several berry varieties for the richest flavor.
Add a handful of chopped pecans or walnuts for extra crunch.
A pinch of nutmeg adds subtle warmth alongside the cinnamon.
Store leftovers covered in the refrigerator for up to 4 days.
Reheat individual servings in the oven or air fryer to restore the crisp topping.
Mistakes to Avoid with Old Fashioned Berry Crisp Recipe
Skipping the cornstarch, which can leave the filling too runny.
Pressing the topping down, preventing it from becoming crisp.
Overbaking until the berries dry out.
Using quick oats instead of old-fashioned oats, resulting in a softer topping.
Serving immediately without letting the crisp rest for a few minutes.
Who Should Enjoy This Recipe
This berry crisp is perfect for beginner bakers, busy families, and anyone looking for an easy dessert that feels homemade. It’s also a wonderful choice for potlucks, holiday dinners, or casual weekend gatherings.
Best Time to Make It
While it’s especially lovely during berry season in late spring and summer, frozen berries make this recipe a delicious option all year long. It’s equally at home after a summer barbecue or as a cozy dessert on a cool evening.
How I Like to Serve a Warm Berry Crisp
I serve berry crisp warm rather than piping hot, after the fruit has had time to settle. A spoonful of yogurt or a small scoop of vanilla ice cream makes it feel especially comforting.
Serve Berry Crisp for a Casual Dinner or Larger Gathering
A nine-inch crisp is easiest to serve from its baking dish. Place the hot dish on a protective trivet and allow guests to choose a portion once the filling has settled. If you expect a crowd, prepare the bowls and serving spoon before bringing the dessert to the table. The recipe lists eight servings, but spooned portions will naturally vary with what else is being offered.
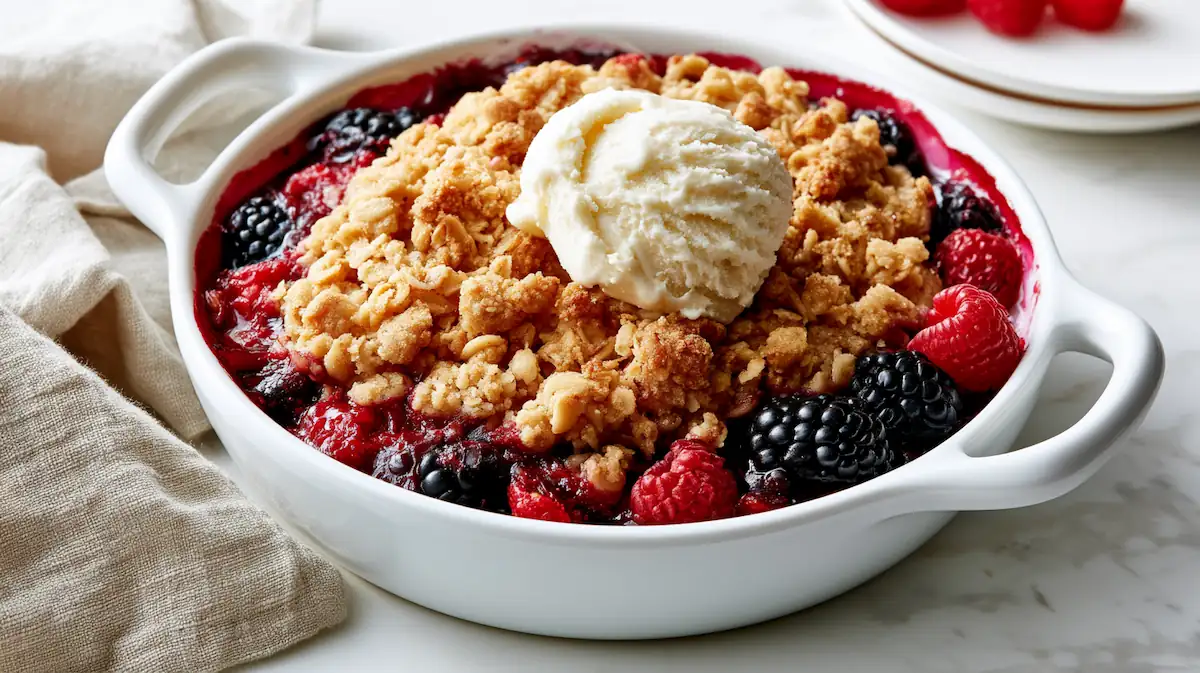
Vanilla ice cream and whipped cream are optional finishes, so keep them separate rather than topping the entire dish. This lets the oat surface stay crisp for anyone who prefers it plain and makes leftovers easier to store. A small scoop of ice cream contrasts with warm fruit, while a spoonful of whipped cream works if you want a cooler topping that does not melt as quickly.
For a dessert table with a second format, slices of blueberry cream cheese bread offer a neat, handheld option. Prepare that loaf early enough to cool completely. The crisp can be baked closer to serving time because it is meant to be spooned warm. Giving each dessert a different role avoids a table of dishes that all need the oven at the last minute.
Store and reheat leftovers according to the guidance below. Scoop only what you intend to serve so the remainder can stay covered in its dish. When reheating, watch the topping as well as the fruit; warming until the fruit is comfortable to eat is more useful than baking it repeatedly until the berries dry out.
Frequently Asked Questions
1. Can I use frozen berries?
Yes. Use them straight from the freezer without thawing to help prevent excess liquid.
2. Which berries taste best together?
Blueberries, raspberries, blackberries, and strawberries create a balanced mix of sweetness and tartness.
3. Can I make the crisp ahead of time?
Yes. Assemble it up to one day ahead, refrigerate, and bake just before serving.
4. How do I store leftovers?
Cover and refrigerate for up to 4 days. Warm leftovers in the oven for the best texture.
5. Can I freeze berry crisp?
Yes. Freeze either before or after baking for up to 3 months. Thaw overnight in the refrigerator before reheating.
Final Thoughts on Old Fashioned Berry Crisp Recipe
Look for bubbling juice in the center, not only around the edges. That tells you the filling is hot enough for the thickener to work properly.
Rest the crisp for at least 15 minutes before serving. It will still be warm, but the berry juices will thicken enough to stay with each spoonful instead of running across the plate.
Old Fashioned Berry Crisp
This old fashioned berry crisp combines juicy blueberries, raspberries, blackberries, and strawberries with lemon and vanilla beneath a buttery oat crumble topping. It bakes into a warm, golden dessert that’s perfect served with vanilla ice cream or whipped cream.
Measuring cups and spoons For accurate measurements.
Method
Preheat the oven to 350°F (175°C). Lightly butter a 9-inch baking dish.
In a large bowl, gently combine the mixed berries with granulated sugar, cornstarch, lemon juice, vanilla extract, and a pinch of salt until evenly coated.
Transfer the berry mixture into the prepared baking dish and spread into an even layer.
In another bowl, stir together the oats, flour, brown sugar, cinnamon, and salt.
Pour in the melted butter and stir until moist, crumbly clusters form.
Sprinkle the topping evenly over the berries without pressing it down.
Bake for 35 to 40 minutes until the filling is bubbling around the edges and the topping is deep golden brown.
Let the berry crisp rest for 10 to 15 minutes before serving. Enjoy warm with vanilla ice cream or whipped cream if desired.
Notes
Frozen berries work well without thawing. Reduce the sugar slightly if your berries are especially sweet. Allow the crisp to rest for 10 to 15 minutes before serving so the filling thickens. Store leftovers covered in the refrigerator for up to 4 days.
Koukie is the recipe creator behind LunEat. She shares practical homemade recipes inspired by family cooking and the simple meals she has loved making since childhood. Read more about Koukie and the story behind LunEat.