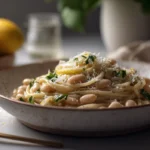
To keep cream sauce from splitting, use gentle heat, avoid a hard boil and add grated cheese gradually after taking the pan off the burner. Keep a little warm water nearby to loosen the sauce as it thickens. The right fix also depends on whether your sauce is oily, grainy or simply too thick.
This guide focuses on cream-based garlic and Parmesan sauces for pasta, gnocchi and vegetables. The recipe at the end gives you a small, straightforward batch to practice with.
What does a split cream sauce look like?
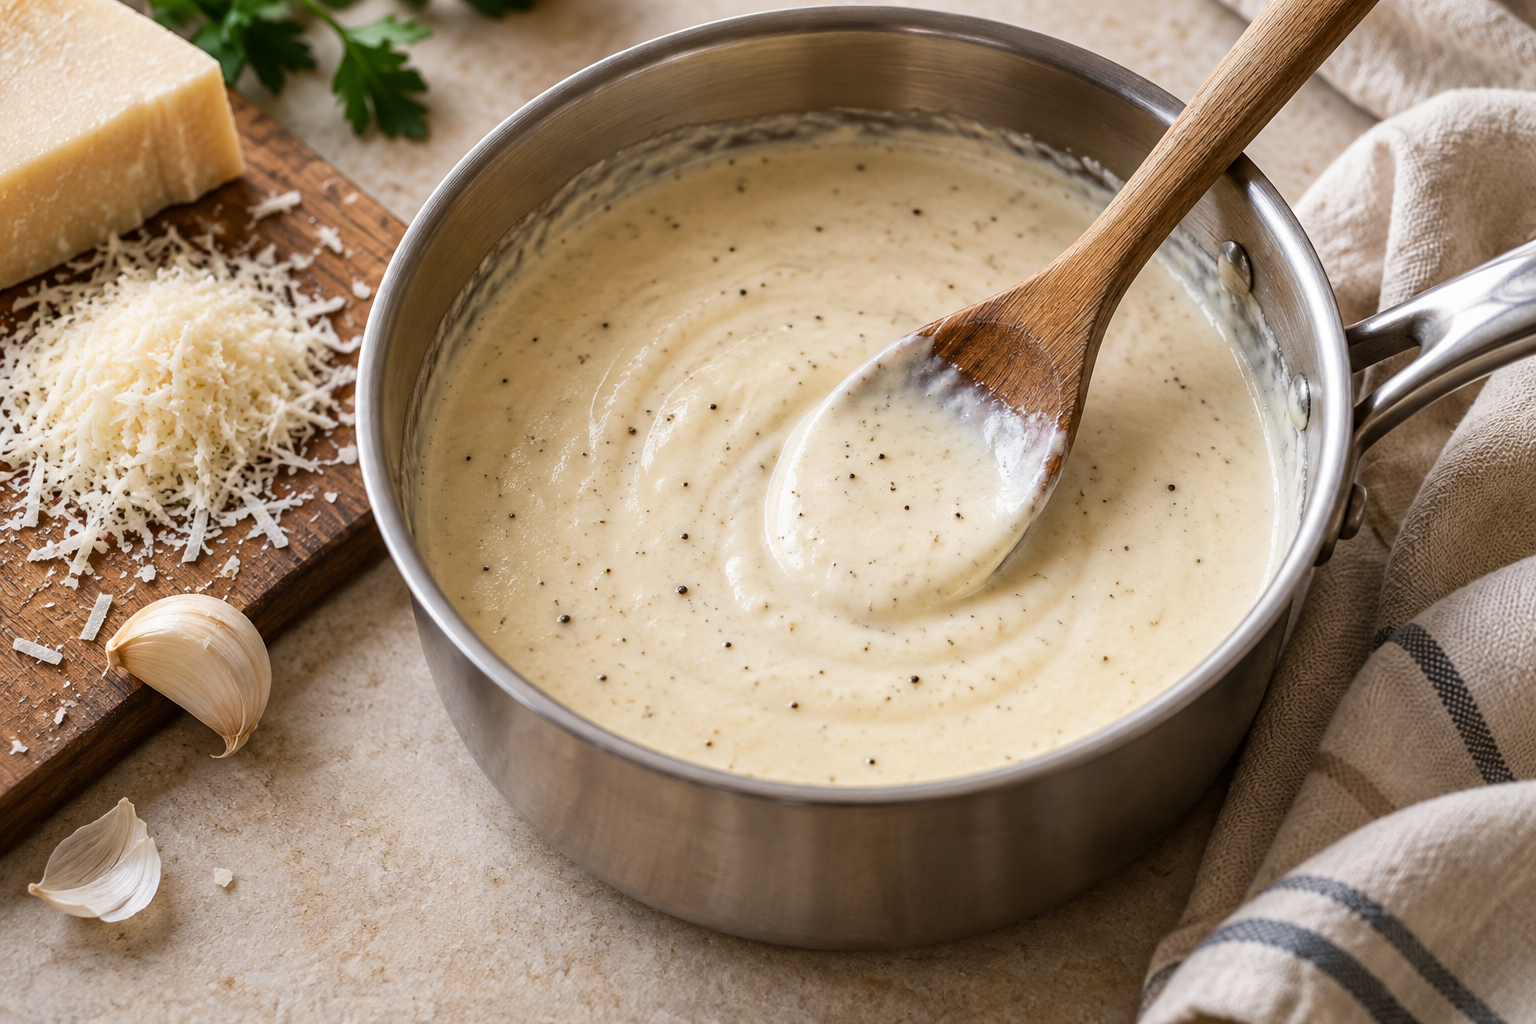
A smooth sauce has an even appearance and coats the back of a spoon. A split sauce may show shiny pools of fat around a thinner liquid. A grainy sauce has tiny lumps or a sandy texture, often after cheese has been exposed to too much heat. A thick sauce can still be perfectly smooth; it may simply need a little more liquid.
These are different problems. Adding more cheese to every one of them can make the pan saltier and harder to smooth out.
Check the Sauce Before Choosing a Fix
Before adding anything, move the pan away from the heat and look closely at a small spoonful. Is the sauce smooth but slow to run off the spoon? Does clear fat collect around its edges? Can you see grains that remain when you stir? These observations help separate a concentration problem from a sauce that has already broken. The word “split” is often used for all three, but the same repair will not work equally well for each.
A smooth sauce that has become thick while sitting usually needs a little liquid and gentle stirring. Pasta can continue absorbing moisture even after the burner is off, so a sauce that looked loose in the pan may look much thicker on the plate. That does not automatically mean the dairy has curdled. Check the sauce on its own, if possible, rather than judging only the spaces between pieces of pasta or chicken.
Visible oil is a different clue. If a thin, shiny layer gathers while the rest of the sauce looks watery, stop cooking before attempting the warm-water method above. Add only a spoonful at first, whisk, then check the result. If firm grains remain, keep expectations realistic: thinning the sauce can make it easier to serve without completely restoring a velvety texture. Increasing the heat in search of smoothness can make the problem more pronounced.
Also distinguish a broken sauce from liquid released by other ingredients. Mushrooms, spinach or poorly drained vegetables can dilute an otherwise smooth base. Our guide to controlling moisture in creamy casseroles explains that separate issue. If the liquid is coming from vegetables, adding more cheese may conceal it briefly but does not address how that moisture entered the dish. Identifying the cause helps you choose a useful adjustment next time.
Set Up Your Pan, Cheese and Liquid Before Cooking
Prepare the cheese before the cream starts heating. Finely grate the amount the recipe calls for and keep it in a bowl where you can add it in several small portions. This makes it easier to notice when the sauce has stopped incorporating the cheese smoothly. Grating directly over a hot pan can leave the sauce heating unattended, and estimating the amount by eye makes it harder to repeat a successful batch.
Choose a pan that gives you room to stir without spreading the sauce into an extremely thin layer. A large skillet is convenient when you will toss in pasta, while a small saucepan can be easier for a modest batch served separately. Either way, scrape gently across the bottom and around the corners as you stir. Sauce caught at the edge can reduce or scorch while the center still appears loose.
Keep a measuring spoon and a small cup of warm water nearby. If you use pasta water, reserve it before draining the pasta and remember how heavily you salted that pot. Water, broth and pasta water do not contribute the same flavor or salt. When your sauce is already well seasoned, plain water gives you a way to adjust consistency without adding more salt. Pouring straight from a large jug makes a small correction harder to control.
For a sauce made after searing meat, plan a deliberate change of pace. The pan used to brown chicken is hotter than the pan you want for gently incorporating dairy. The Boursin chicken recipe is a useful example of moving from browning to sauce-making in one skillet. Read the complete sequence before starting, so the cheese and cream are ready when the heat has been reduced rather than added hurriedly to a still-sizzling pan.
How to keep cream sauce from splitting
1. Control the burner before adding dairy
After browning meat or mushrooms, lower the heat before pouring in cream. A heavy skillet holds heat even after you turn the knob down, so move it off the burner briefly if it is very hot. Gentle bubbling is enough for most cream-based sauces; a rolling boil is unnecessary.
University of Wyoming Extension’s Alfredo guidance also notes that excessive heat and boiling can cause the sauce to separate.
2. Use the dairy the recipe specifies
Heavy cream, milk and yogurt are not interchangeable in equal amounts for every sauce. Lower-fat substitutions change both thickness and heat tolerance. Sour cream and yogurt need their own method and should not be dropped into a vigorously boiling pan as a direct replacement for heavy cream.
3. Grate cheese finely and add it gradually
Fine shreds melt more evenly than large pieces. Remove the pan from the heat, let active bubbling stop and stir the cheese in a little at a time. Pre-shredded products vary, so a freshly grated block gives you more control. If the pan cools too much, return it briefly to very low heat while stirring.
4. Keep enough liquid in the pan
A sauce that reduces too far can become thick and greasy. Add warm water or unsalted pasta water a tablespoon at a time until it flows again. Pasta water is useful, but its salt and starch concentration vary, so do not pour in a large amount all at once.
5. Treat acidic additions carefully
A large splash of lemon juice or wine can change a dairy sauce abruptly. Follow a recipe designed for those ingredients. For a simple garlic cream sauce, lemon zest at serving time adds fragrance without adding much liquid or acid.
Can you fix a sauce that has already split?
Sometimes. Take the pan off the heat first. For a slightly oily sauce, whisk in a tablespoon of warm water, then reassess before adding more. This can bring a mildly separated sauce back together. If the cheese has formed firm grains or the dairy has heavily curdled, it may not return to a completely smooth texture.
- Smooth but too thick: add warm liquid gradually.
- Thin but still smooth: reduce the cream base gently before adding cheese next time. Do not hard-boil a finished cheese sauce.
- Oily with a thin liquid underneath: remove from heat and try a small amount of warm water while whisking.
- Firm cheese clumps: stop adding cheese and stop increasing the heat. Extra boiling usually makes the texture worse.
- Burnt taste: do not scrape the scorched bottom into the sauce. A badly burnt batch is better remade.
Never use texture repairs to disguise spoiled dairy or food left out too long. A sauce can look smooth and still be unsafe.
Put the technique to work at dinner
Our creamy mushroom gnocchi uses a gentle simmer followed by Parmesan off the heat. The same attention to the burner is useful with Boursin chicken and creamy Tuscan chicken orzo, while each recipe keeps its own ingredient ratios.
If your problem is excess vegetable water rather than separated fat, read how to prevent a watery casserole. Reducing moisture before assembly solves a different issue from keeping cheese sauce smooth.
Match the Cream Sauce to Pasta, Chicken or Vegetables
A sauce does not need exactly the same consistency for every dinner. For pasta, leave it fluid enough to coat the pieces when tossed; the pasta will take up some of that moisture. For chicken served with a side, you may prefer a sauce that flows around the meat and can be spooned onto the plate. For vegetables, drain away cooking water first so it does not immediately dilute the sauce you have just adjusted.
Add cooked pasta gradually instead of tipping in more than the sauce can comfortably coat. Toss gently, assess the texture, and loosen with small amounts of reserved water when needed. A crowded pan makes that assessment difficult because you can no longer see the sauce at the bottom. If you are unsure how much pasta the batch will cover, hold some back and add it only after the first portion is evenly coated.
One-pan pasta recipes require another distinction: the liquid used to cook dry pasta is part of the recipe’s balance. The broth in creamy Tuscan chicken orzo serves a different purpose from a tablespoon of water used to loosen a finished Parmesan sauce. Do not substitute a thick finished sauce for all of that cooking liquid. Follow the pasta recipe, then make small finishing adjustments once the pasta is tender.
For a vegetable side, roasting gives a different result from adding freshly boiled vegetables. You can serve a little sauce alongside roasted frozen broccoli so the browned edges remain distinct, instead of saturating the whole tray. Offer the sauce at the table when some diners prefer less richness. This also makes it easier to judge the sauce itself and keeps a well-balanced batch from becoming thin through contact with excess vegetable water.
Koukie’s Little Touch
I whisk in one spoonful of warm pasta water just before the Parmesan. Its starch helps the sauce stay silky and gives it a light, glossy finish without making it heavy.
Helpful Tips
- Grate the Parmesan finely from a block before you start.
- Keep the cream at a gentle simmer and never let it boil hard.
- Remove the pan from the burner before adding the cheese.
- Loosen a thick sauce with warm water one tablespoon at a time.
How to store and reheat cream sauce
Refrigerate promptly and use within three days. Reheat over low heat, stirring and adding a little water as needed, until the sauce reaches 165°F (74°C). Avoid repeated heating of the entire batch. See USDA leftover guidance.
Practice with a Small Batch and Record What Changed
When a sauce repeatedly gives you trouble, repeat the small practice recipe below before making a larger dinner. Keep the cream, cheese and liquid quantities consistent for that batch. Changing the dairy, doubling the cheese and switching pans at the same time makes it difficult to identify which change affected the result. Start with the stated ingredients, then make one deliberate adjustment in a later batch if you want to explore a variation.
Watch three moments closely: the cream before the cheese goes in, the sauce after each addition of cheese, and the texture just before serving. Note whether the pan was still bubbling when you added Parmesan. Notice whether the sauce became grainy immediately or only after several minutes over heat. These details are more useful than simply writing “the sauce failed,” because they identify the point where the method may need to change.
A quick kitchen note can be very simple: which dairy you used, whether the cheese was freshly grated, which pan you chose, and how much extra water the finished sauce needed. There is no need to chase one universal burner setting. A small burner, a wide pan and a heavy pan behave differently, so visual cues such as gentle bubbling and a smooth coating are more transferable than a particular number on the stove dial.
Once the plain batch works, use it with a familiar meal before introducing several strongly flavored additions. Add garnishes to individual servings when practical, and taste before adding more salt. The aim is a repeatable method you can recognize while cooking: a controlled cream base, gradual cheese additions and enough liquid for the dish you are serving. A useful practice batch teaches you those cues even when the final sauce needs a small adjustment at the table.
Frequently asked questions
Is this traditional Alfredo?
No. The practice recipe below is a cream-based garlic Parmesan sauce. Traditional butter-and-cheese Alfredo uses a different balance of ingredients and technique.
Will flour fix every broken sauce?
No. A flour-thickened sauce should start with an appropriate cooked roux or another planned method. Sprinkling dry flour into a finished sauce can create lumps and a raw taste.
Can I freeze it?
Freezing may change the texture of a dairy sauce. Make a fresh small batch when smoothness matters most; a thawed batch may need gentle whisking and may still separate.
Garlic Parmesan Cream Sauce Recipe
Gentle-Heat Garlic Parmesan Cream Sauce
Ingredients
Method
- Finely grate the Parmesan before starting. Melt butter in a small heavy-bottomed saucepan over medium-low heat. Add garlic and stir for 30-60 seconds until fragrant, without browning.
- Add heavy cream and water. Heat gently for 4-6 minutes, stirring, until steaming with small bubbles at the edge. Avoid a rolling boil.
- Take the pan off the burner and wait until bubbling stops. Add Parmesan in three small additions, whisking each until smooth before adding the next.
- Stir in pepper and taste before adding salt. If too thick, whisk in warm water one tablespoon at a time. If the cheese needs more help melting, return briefly to the lowest heat while stirring. Serve promptly over cooked pasta or vegetables.