No-bake desserts are simple, but they still depend on temperature, proportions, and enough chilling time. Most failures come from a filling that was too warm or a dessert served before it had time to set.
These five rules explain how I plan the layers, control moisture, and keep creamy fillings stable without turning on the oven.
But let’s be honest: without the heat of an oven to bake and set things, no-bake treats can sometimes turn into a runny mess or a rock-hard block. If you are looking for the absolute simplest options to start with, check out our favorite easy 3-ingredient desserts that require almost zero effort.
1. Master the Crust: The Base of Success
Every great layered or icebox dessert needs a solid foundation. Since we aren’t baking, you need a binder to hold your crust together.
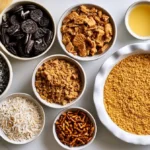
- The Secret Ratio: The perfect no-bake crust usually combines crushed cookies (like Graham crackers, Oreos, or Speculoos) with melted butter. The butter acts as the glue once chilled.
- Pro-Tip: Pack the crust firmly into your dish using the bottom of a flat glass or a measuring cup. If you press too lightly, it will crumble when you slice it.
2. Give It Time to Set (Patience is Key!)
If there is one rule you cannot skip, it’s chilling time. An oven bakes a cake in 30 minutes, but a refrigerator takes a few hours to work its magic.
- The Freezer Shortcut: If you are short on time, you can pop your dessert in the freezer for 20–30 minutes to speed up the initial set, but always finish chilling it in the fridge for the best texture.
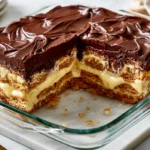
- Looking for an incredibly reliable, beginner-friendly recipe that sets beautifully? Check out our step-by-step guide on how to make a classic No-Bake Chocolate Eclair Dessert for Beginners.
3. Balance Your Textures and Flavors
Because no-bake desserts rely heavily on ingredients like cream cheese, whipped cream, or pudding, they can easily become overly heavy or sweet. To fix this, always aim for a balance of creamy, crunchy, and tangy.
- Add Citrus: A splash of lemon juice or zest cuts through the richness of heavy cream. A perfect example of this balance is our cool and zesty Lemon Icebox Dessert.
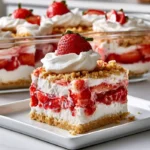
- Add Fruit: Fresh fruit adds natural acidity and a beautiful color contrast. Try layering fresh berries like in this crowd-pleasing No-Bake Strawberry Delight.
4. Work with Individual Servings for Easy Hosting
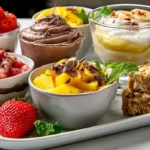
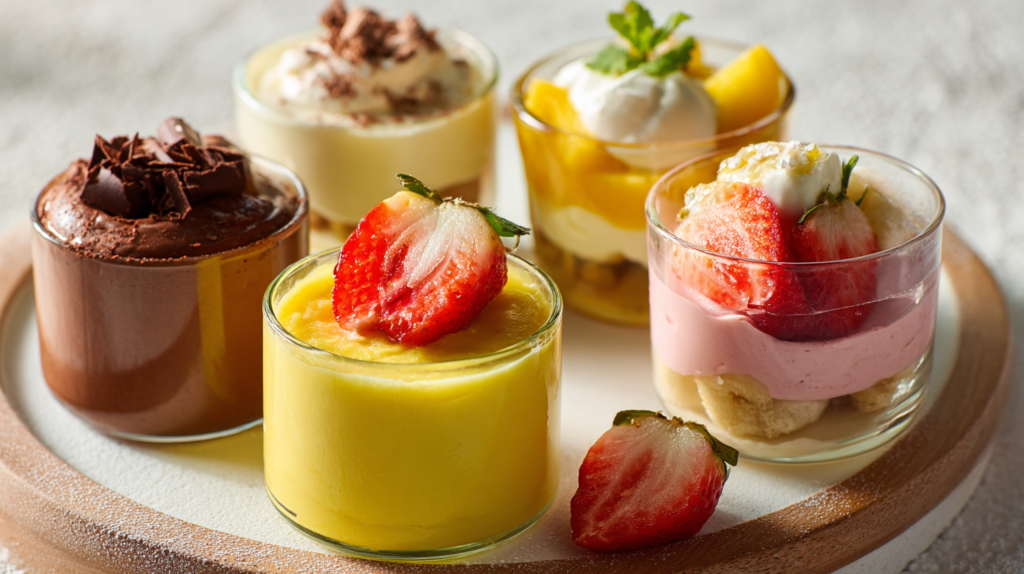
If you are worried about slicing a soft dessert cleanly, skip the large baking dish entirely and go for dessert cups or jars.
- Why it works: Serving desserts in individual cups completely eliminates the stress of cutting clean slices. Plus, it looks absolutely stunning and professional for dinner parties!
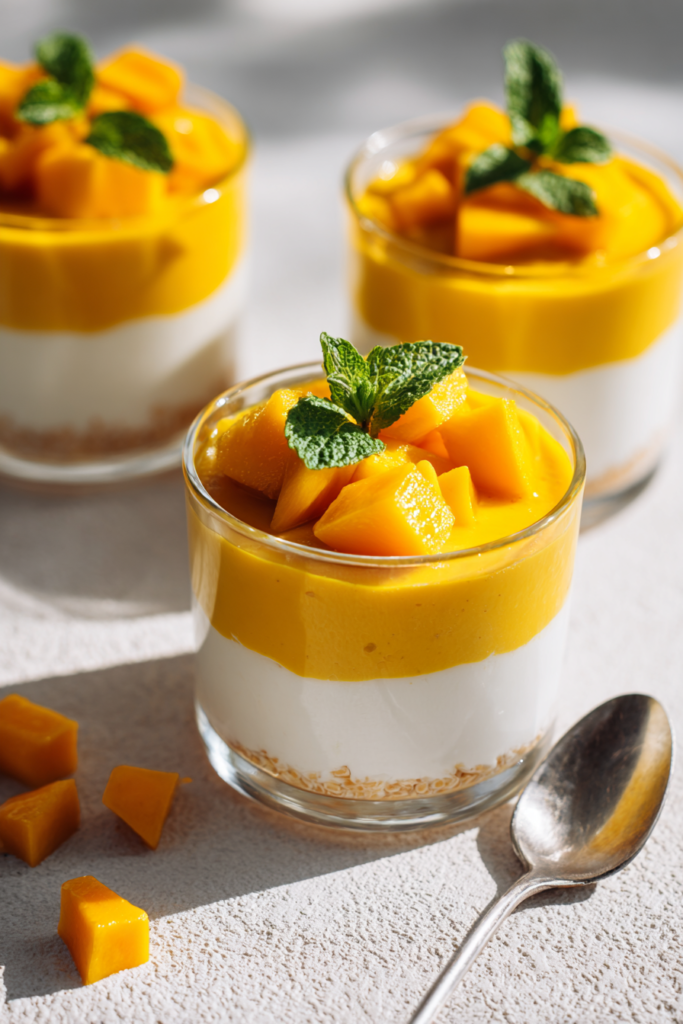
- Get Inspired: For a light, silky, and tropical treat, try these gorgeous Layered Mango Coconut Pudding Cups. If you prefer a comforting, nostalgic classic, you can never go wrong with a quick and Easy Banana Pudding.
5. Keep Your Ingredients at the Right Temperature
When mixing no-bake fillings, temperature matters:
- Cream cheese must be completely at room temperature, or your filling will end up lumpy.
- Heavy whipping cream must be ice-cold, or it won’t whip into stiff peaks.
Ready to Dive In?
Before starting, read the full recipe and calculate the chilling time backward from serving. Four hours is common, while layered desserts are often better overnight.
Keep crunchy bases and garnishes dry, cool cooked mixtures before layering, and add fresh fruit near serving time. These habits solve most no-bake texture problems.
How to tell when a no-bake dessert is ready
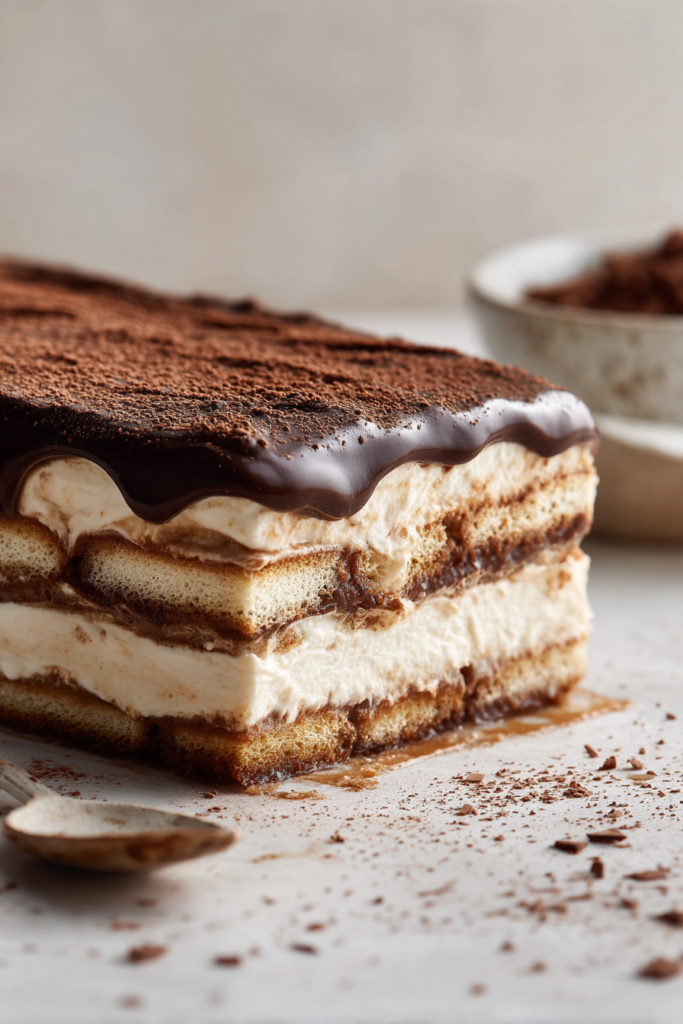
Look for three signs before slicing: the center should no longer ripple when the pan moves, the edges should release cleanly from a warm knife, and the crust should stay attached to the filling. If only the surface feels firm, give the dessert another hour in the refrigerator.
A simple no-bake troubleshooting guide
- Soft filling: chill longer and confirm that whipped ingredients were cold.
- Crumbly crust: add a small amount of melted butter and press more firmly.
- Watery fruit layer: drain the fruit and cool cooked toppings before assembly.
- Messy slices: use a clean, warm knife and wipe it between cuts.
Plan the chilling time before you begin
Most no-bake desserts need at least four hours in the refrigerator, and layered desserts are often better after an overnight rest. Start with a cold bowl when whipping cream, cool cooked pudding before layering, and keep the finished dessert covered so it does not absorb refrigerator odors.
If you are preparing dessert for guests, finish it the previous evening and add delicate garnishes shortly before serving. Fresh fruit, cookie crumbs, and chocolate curls keep their best texture when they are added at the end.
Match the Crust to the Filling You Plan to Use
A no-bake crust is more than a layer that keeps the filling off the pan. It has to bind firmly enough to lift with a slice, but remain pleasant to eat after chilling. Begin with fine, even cookie crumbs, then add melted butter gradually and squeeze a little of the mixture in your hand. If it holds together without feeling oily, it is ready to press. Different cookies contain different amounts of fat and sugar, so a sandwich cookie may require less butter than a dry biscuit. Use the particular dessert recipe’s measurements as a starting point, then judge the texture before compacting the entire pan.
Spread the crumbs to an even depth and press from the center toward the edges with a flat-bottomed glass. If the recipe needs a crust up the sides, build that edge in small passes rather than shoving one mound of crumbs against the pan. Chill the empty base before adding a creamy filling when the recipe directs you to. This gives the butter time to firm and makes it less likely that the filling will pull crumbs loose as you spread it. A warm filling can undo that work, so cool cooked mixtures before they touch a prepared crust.
Flavor matters too. A neutral digestive biscuit can support lemon or fruit, while chocolate cookies make a vanilla filling taste richer. For options beyond graham crackers, see the graham cracker substitute guide. If you are making a layered icebox cake, remember that whole crackers play a different role from a pressed crumb base: they soften as they sit against the filling. The beginner chocolate éclair dessert illustrates that separate method.
Choose a Creamy Filling That Can Actually Set
A no-bake filling needs a source of structure. Cream cheese can hold a cheesecake-style mixture together; instant pudding thickens when prepared with the stated amount of cold milk; melted chocolate becomes firmer as it cools; and whipped cream adds air when folded into a thicker base. These ingredients are not interchangeable in equal amounts. If you replace cream cheese with a thinner yogurt or add extra fruit purée, the finished dessert may taste good but be too soft for clean slices. Decide whether you need a spoonable cup or a cuttable pan before choosing the filling.
Temperature affects how the filling comes together. Bring cream cheese to the temperature specified by the recipe so it blends smoothly, but keep heavy cream cold when whipping it. If you use pudding, allow it the stated thickening time before layering. Fold airy ingredients gently instead of beating them until the mixture loses volume. Once assembled, refrigerate the dessert for the full interval in its recipe. A firm top does not necessarily mean the center has set. Gently moving the pan can show whether the middle still ripples, but avoid repeatedly taking the dish in and out of the refrigerator.
For a dessert that deliberately skips cream cheese, use a recipe built around a different base rather than improvising a cup-for-cup swap. The guide to no-bake desserts without cream cheese compares pudding, yogurt, coconut cream, and other approaches. If clean slices are not essential, individual cups are forgiving because the container supports the creamy layers. That choice can save a party dessert when you want a light texture rather than a firm cheesecake-like wedge.
Control Moisture from Fruit and Finishing Toppings
Fruit can brighten a rich chilled dessert, but extra juice can soften both the filling and crust. Wash berries, dry them carefully, then slice them close to assembly or serving time. If a fruit topping is cooked, let it cool before layering it over a cream mixture. Spreading a warm fruit sauce across whipped filling can reduce its stability and blur the layers. For fresh fruit that releases a lot of liquid, consider keeping some pieces for a garnish added just before serving instead of burying all of them in the middle.
Match the topping to the texture you want at the table. Cookie crumbs, toasted nuts, and chocolate curls can soften after hours against a wet surface. Store them separately and add them when the dish is ready to serve if the recipe allows it. A fruit layer meant to set with the dessert is different: add it when the instructions tell you, then give the whole dish its full refrigerator time. The strawberry delight chilling guide explains why berry moisture and waiting time affect the final slice.
If the dessert looks watery after chilling, do not assume a decorative topping will fix the underlying layer. Check whether the fruit was dry, the cooked component was cool, and the filling used the intended measurements. Serve a slightly soft dessert in bowls if necessary, then adjust one variable the next time you make it. For a fruit-forward option designed as cups, mango coconut pudding cups offer a different format where soft layers are expected. Choosing the right format is often more useful than trying to force every no-bake dessert into a slice.
Plan the Refrigerator Time and Serve with Confidence
Count chilling time from the moment the final layer is assembled, not from when you begin crushing cookies. If dinner is tomorrow, preparing the dessert tonight gives the filling and base time to settle without a last-minute rush. Make sure there is a flat refrigerator shelf large enough for the dish. Cover it so the surface stays protected and the dessert does not absorb nearby food odors. Keep delicate garnish separate until serving time, then check the center rather than relying only on a firm edge. A deep dish can need more time than a shallow one.
The freezer shortcut in the main rules can cool a dessert briefly, but it should not replace the recipe’s refrigerator period. Fruit and creamy fillings may change texture if frozen and thawed, and an icy edge can hide a center that has not settled evenly. When the dessert is ready, use a clean knife to cut through the layers and a flat server to lift a slice with its crust. Wipe the knife between portions if cream or chocolate builds up on it. If the pan remains soft, spoon portions into bowls or cups instead of forcing a neat cut.
For hosting, choose the serving style before you assemble. A large pan is efficient for a family table; individual cups are easier to pass around. Easy banana pudding is a good reminder that some no-bake textures improve as cookies soften, while a crumb crust needs enough binding to hold its shape. Read the specific recipe’s storage and chilling guidance, then work backward from when guests will eat. That simple schedule is often what turns an easy dessert into one that looks and tastes finished.
Before you begin a new no-bake recipe, make a short checklist: pan size, ingredient temperatures, order of layers, minimum chilling time, and how it will be served. A general guide helps you recognize problems, but the individual recipe provides the quantities that make its filling set. Keep those instructions together while you work. If you change the pan, cookie, or creamy base, note the adjustment and check the dessert after the full rest instead of assuming the original timing will stay exact.
The No-Bake Lesson I Learned in My Kitchen
The biggest lesson for me is that chilling time is part of the recipe, not an optional pause. When the base, filling, and topping each have time to settle, the dessert slices more neatly and tastes more balanced.