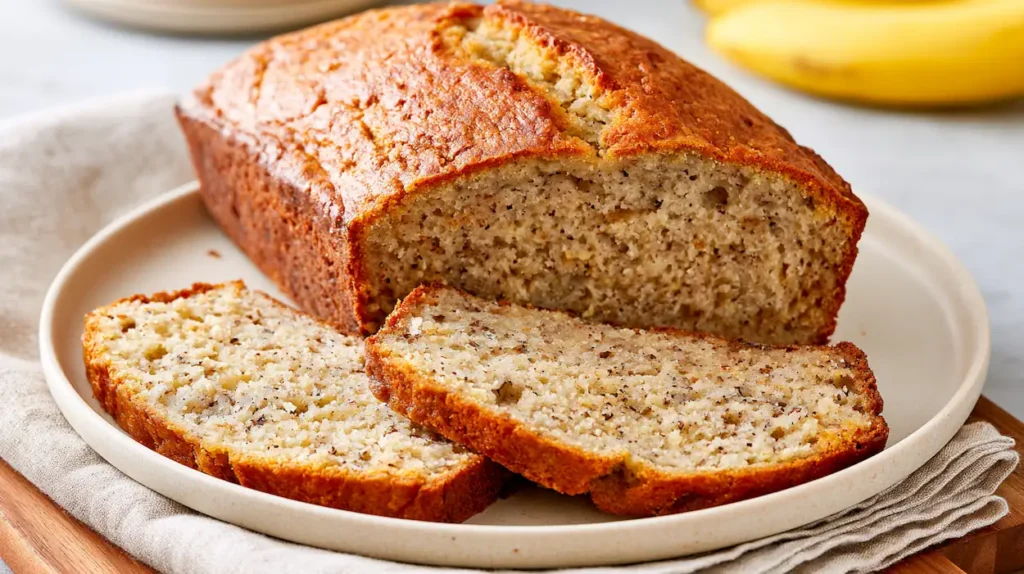
This simple banana bread was the very first recipe I made by myself when I was 8 years old. I still remember waiting for it to come out of the oven and hoping my family would like it. They did, and their encouragement is one of the reasons I kept cooking.
For this version, I wanted to keep the same spirit: a short ingredient list, one bowl, and no complicated steps. That early memory is part of the story behind LunEat. This is the kind of recipe you can make when a few bananas have become too ripe to eat but are perfect for baking.
Why you’ll love this simple banana bread
- It uses basic ingredients you may already have at home.
- You only need one mixing bowl.
- There is no mixer and no special technique.
- Very ripe bananas give it plenty of flavor and help keep it moist.
- It works for breakfast, an afternoon snack, or a simple dessert.
Simple banana bread ingredients
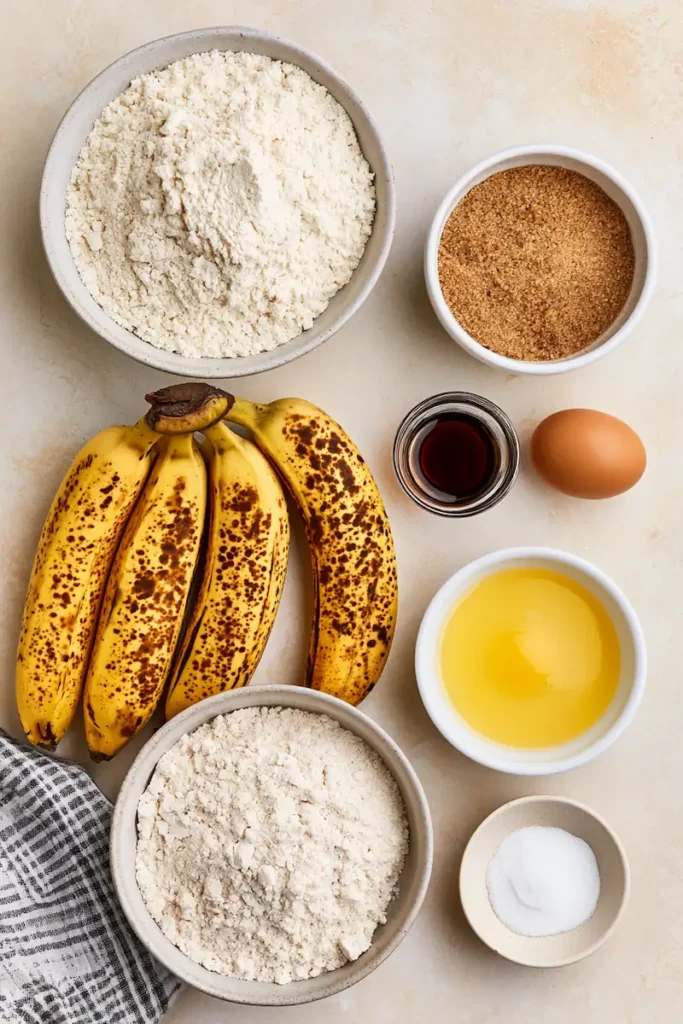
- 3 medium very ripe bananas, about 1 1/4 cups (285 g) mashed
- 1/3 cup (75 g) unsalted butter, melted and slightly cooled
- 3/4 cup (150 g) light brown sugar
- 1 large egg, at room temperature if possible
- 1 teaspoon vanilla extract
- 1 1/2 cups (190 g) all-purpose flour
- 1 teaspoon baking soda
- 1/2 teaspoon fine salt
Optional: Add 1/2 teaspoon cinnamon if you like a warmer flavor, but the banana bread is still delicious without it.
Measure the Mashed Banana, Not Just the Number of Bananas
Three medium bananas are a convenient shopping guide, but fruit size varies. The recipe card gives the more useful target: about one and a quarter cups, or 285 grams, of mashed banana. Peel and mash the fruit before measuring it. That helps you avoid a batter with much more fruit than intended simply because the bananas in your kitchen happen to be unusually large.
Use ripe bananas that mash easily with a fork. Small soft lumps are fine; you do not need to turn the fruit into a perfectly smooth purée. Large firm chunks distribute less evenly and can leave pockets that feel different from the surrounding crumb. Brown spotting on the peel can indicate ripeness, but do not use fruit with mold or other signs of spoilage just because it will be baked.
If using thawed bananas, follow the FAQ below and include their released juices when mashing and measuring the fruit. Do not pour an unmeasured pool of liquid into the batter and then try to compensate with extra flour. Keep the banana amount consistent first. The same principle applies to adding a spare banana: more fruit changes moisture as well as flavor, so it is not a free addition to an otherwise unchanged recipe.
Measure the flour separately, ideally using the stated weight. If using cups, spoon and level as described above. It is easy to end up with both too much banana and too much flour when correcting one measurement by eye with another. Start from the specified quantities, then judge the finished loaf before deciding whether a future batch needs a deliberate variation. A short note about banana weight can make a successful loaf easier to repeat.
How to make banana bread
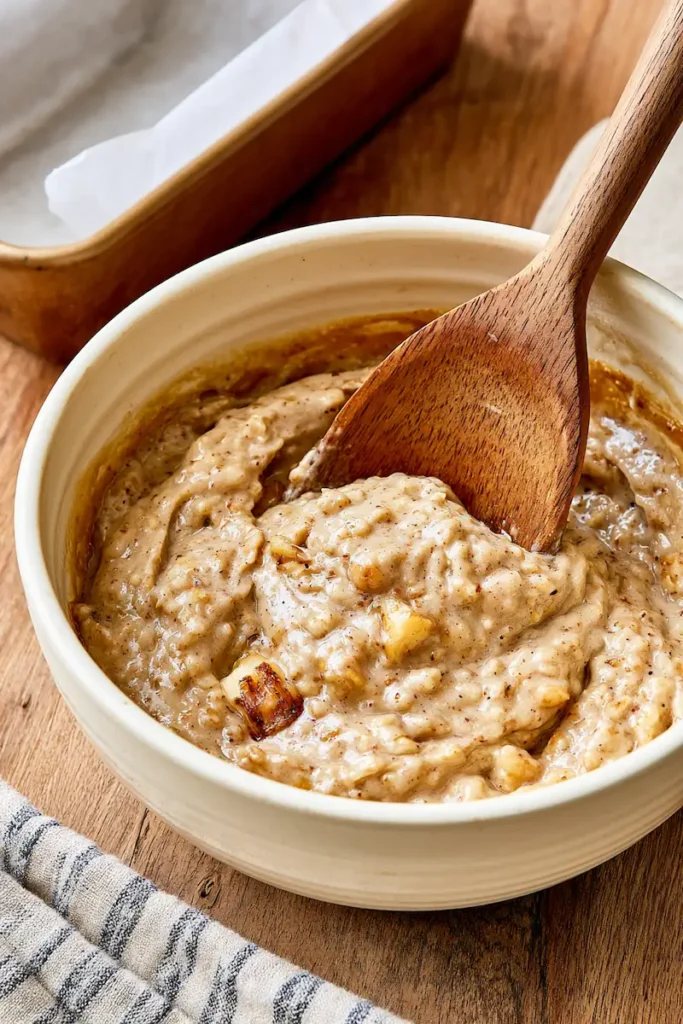
- Prepare the oven and pan. Preheat the oven to 350°F (175°C). Grease a 9 x 5-inch loaf pan and line it with parchment paper, leaving a little paper over the sides so the loaf is easy to lift out.
- Mash the bananas. Place the peeled bananas in a large bowl and mash them well with a fork. A few small lumps are fine.
- Add the wet ingredients. Stir in the melted butter and brown sugar. Add the egg and vanilla, then whisk until everything is combined.
- Add the dry ingredients. Sprinkle the baking soda and salt over the mixture. Add the flour and gently fold just until you no longer see dry streaks. Do not keep mixing once the flour disappears.
- Bake. Pour the batter into the prepared pan and smooth the top. Bake for 50 to 60 minutes. The loaf is ready when a toothpick inserted in the center comes out clean or with only a few moist crumbs.
- Let it cool. Leave the banana bread in the pan for 10 to 15 minutes. Lift it onto a wire rack and let it cool before slicing. It will cut more neatly once it is no longer hot.
Mix a One-Bowl Banana Bread Batter in the Right Order
The one-bowl method works best when the early ingredients are thoroughly combined before the flour arrives. Mash the banana, stir in the melted and slightly cooled butter with the sugar, then incorporate the egg and vanilla as directed. Break up any large brown-sugar lumps at this stage. You have more freedom to mix the wet ingredients evenly now than you will after the flour has been added.
Let melted butter cool enough that it is no longer very hot before combining it with the egg mixture. It should still be fluid so it distributes through the banana. Have the prepared loaf pan waiting nearby and preheat the oven before you start mixing. That prevents the finished batter from sitting while you grease the pan, look for parchment or wait for the oven to reach temperature.
Distribute the baking soda and salt rather than dropping them into one compact spot. Once the flour goes in, use a spatula or spoon to fold from the bottom and around the bowl’s sides. Stop when you no longer see dry flour. A few banana lumps do not mean the batter needs prolonged whisking. The goal is an evenly combined batter, not a glossy, elastic mixture.
For the optional nuts or chocolate chips, have the measured amount ready and fold it through with as few extra turns as practical. Avoid adding several full measures of different extras at once. If you want a different fruit-and-crumb-topping project, the caramel peach cobbler muffins use their own formula and portion size. Follow that recipe for muffins rather than assuming this loaf batter will need the same baking schedule in smaller cups.
My simple tips for a better loaf
Use very ripe bananas. Bananas with lots of brown spots are softer, sweeter, and more flavorful. This is not the moment for firm yellow bananas.
Measure the flour gently. If you use cups, spoon the flour into the measuring cup and level the top. Scooping directly from the bag can add too much flour and make the loaf dry.
Do not overmix. Once the flour goes into the bowl, fold only until it is combined. Too much mixing can make banana bread heavy or rubbery.
Check the center. Every oven is a little different. If the top browns too quickly but the middle still needs time, loosely cover the loaf with foil for the final 10 to 15 minutes.
Check the Center Before Removing Banana Bread from the Oven
Use the nine-by-five-inch loaf pan listed in the recipe. A smaller, deeper pan changes how far heat must travel to the center; a wider pan spreads the batter into a shallower layer. Either change can alter baking time and the relationship between a browned crust and a cooked middle. For the most predictable first loaf, keep the pan size and oven temperature the same as the instructions.
Begin checking at the earlier end of the stated window. The top can develop color before the center is ready, so appearance alone is not enough. Insert a toothpick or thin skewer into the thickest middle portion. A few moist crumbs are different from a smear of wet batter. If using chocolate chips, test another spot when melted chocolate makes the first result difficult to interpret.
If the top is browning ahead of the center, use the loose foil covering described in the tips. Keep baking until the center passes the doneness check rather than removing the loaf just to protect its color. Avoid opening the oven every couple of minutes, which makes it harder to maintain steady heat. Give an underdone loaf a little more time, then make a focused check.
Allow the initial rest in the pan before lifting the loaf onto a rack, and let it cool further before slicing. A warm loaf can feel fragile even when properly baked. Do not confuse a messy cut through a very hot loaf with a failed recipe. If you plan a mixed baking afternoon from the easy fall treats collection, include cooling space and time in the schedule instead of counting only the minutes in the oven.
Easy additions
The plain loaf is my favorite place to start, but you can fold in up to 3/4 cup of chocolate chips or chopped walnuts before baking. Try not to add too much or the loaf may become heavy. If you enjoy uncomplicated homemade sweets, you can also explore my easy dessert recipes.
Slice, Serve and Share Banana Bread Without Drying It Out
Once the loaf has cooled enough to hold its shape, use a serrated knife with a gentle sawing motion. Pressing straight down with a dull blade can compress the soft crumb. Cut slices according to how you will serve them: a modest slice works beside breakfast, while a thicker slice can be a snack on its own. There is no need to cut the whole loaf immediately if you only want one or two servings.
Serve the plain bread first before deciding it needs a glaze or a heavy topping. Ripe banana, brown sugar and butter already give it sweetness and richness. A little butter on an individual slice is optional, and keeping toppings separate lets everyone choose. If serving alongside another dessert, thinner slices make it easier for guests to sample both without turning the loaf into oversized portions.
For sharing, let the bread cool completely before wrapping so steam does not collect against the crust. Keep the loaf supported during transport rather than wrapping it so tightly that the top is crushed. If you added walnuts or another optional ingredient, tell the people receiving it what is inside. A plain-looking slice does not always reveal every addition at a glance.
Use the storage and freezing guidance below for portions you will not eat soon. Freeze slices separately when you want one serving at a time, and label the package so you know which batch or variation it contains. For a future baking day, browse the easy dessert recipe collection and choose a different format to suit the occasion, while keeping this banana bread as the simple loaf it was designed to be.
How to store banana bread
Once completely cool, keep the loaf in an airtight container at room temperature for up to 3 days. For longer storage, refrigerate it for up to 5 days. Bring a slice back to room temperature or warm it for a few seconds before serving.
You can also freeze individual slices. Wrap them well, place them in a freezer-safe bag, and freeze for up to 3 months. Let a slice thaw at room temperature or warm it gently in the microwave.
Simple banana bread recipe
Prep time: 10 minutes
Bake time: 50–60 minutes
Cooling time: 15 minutes
Total time: About 1 hour 20 minutes
Yield: 1 loaf, about 10 slices
Pan: 9 x 5-inch loaf pan
Oven: 350°F (175°C)
Why This Banana Bread Is Special to Me
Banana bread was the first recipe I made when I was eight years old, with my family encouraging me in the kitchen. I still love how a few simple ingredients can turn ripe bananas into something warm and comforting.
Frequently asked questions
Can I use frozen bananas?
Yes. Thaw them completely first. Frozen bananas release a lot of liquid, so mash the fruit together with its juices and measure the amount before adding it to the batter.
Why is my banana bread dry?
The most common reasons are too much flour or baking it for too long. Weighing the flour is the easiest way to avoid adding too much. Start checking the loaf at 50 minutes.
Can I reduce the sugar?
You can reduce it to 1/2 cup (100 g), especially if your bananas are extremely ripe. The loaf will be a little less sweet and may have a slightly different texture.
How do I know when it is done?
Insert a toothpick into the thickest part in the center. It should come out clean or with a few moist crumbs, but not wet batter. Letting the loaf cool before slicing also helps the crumb finish setting.
If you make this simple banana bread, I hope it gives you the same happy feeling that my first loaf gave me at 8 years old.
Simple Banana Bread
Ingredients
Equipment
Method
- Preheat the oven to 350 F (175 C). Grease a 9 x 5-inch loaf pan and line it with parchment paper, leaving a little paper over the sides so the loaf is easy to lift out.
- Place the peeled bananas in a large bowl and mash them well with a fork. A few small lumps are fine.
- Stir in the melted butter and brown sugar. Add the egg and vanilla, then whisk until everything is combined.
- Sprinkle the baking soda and salt over the mixture. Add the flour and gently fold just until you no longer see dry streaks. Do not keep mixing once the flour disappears.
- Pour the batter into the prepared pan and smooth the top. Bake for 50 to 60 minutes. The loaf is ready when a toothpick inserted in the center comes out clean or with only a few moist crumbs.
- Leave the banana bread in the pan for 10 to 15 minutes. Lift it onto a wire rack and let it cool before slicing. It will cut more neatly once it is no longer hot.